Quick edits allows you to create simple, brand-approved videos in less than 30 seconds, with no video editing experience needed! Read on to find out how...
Follow these simple steps to create a Quick Edit:
Step 1. Add a video title and choose your theme.

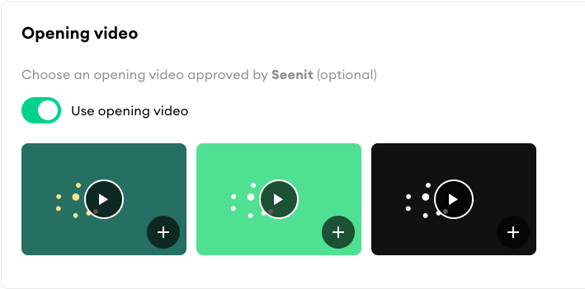
Step 2. Select your opening video - this is the opening clip for your video. To select a video, click on the plus sign in the bottom right corner of the video.
Step 3. Upload your content
Upload the content that will form the main section of your video. You can either add content from your Library, use the native camera on your desktop by selecting Use camera or upload pre-recorded content from your device by selecting Upload.
*Note: To add an additional clip, click on '+ Add new clip' underneath Clip 1. You can upload a total of two clips for a single Quick Edit video.
a) Adjust the Overlays toggles according to your preferences. This feature is optional; you can toggle to either select or deselect an overlay.
i ) Display company logo - think of this as a watermark for the video that will sit in the corner of the video.
ii) Text on clip - add any text you want to appear on your video.


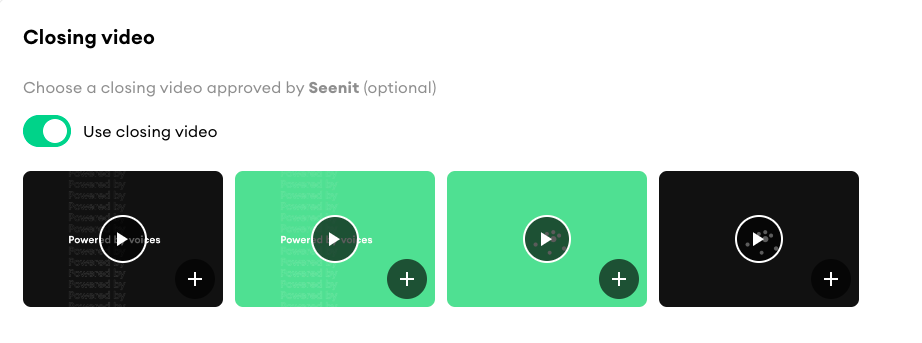
Step 4. Closing video
Optional - if using a Closing video, click on the plus sign in the bottom right corner of the clip.
Step 5. Audio Tracks
Optional - turn the audio track toggle on and you will be able to see audio tracks that have been added to your Quick Edit editor. You can click on the play button to listen to the tracks.
Please note that any audio tracks added to your Quick Edit will only be played over your clip, not over the opening or closing video.
Step 6. Build the video
Once you’re happy with the settings, hit build video to see your finished video. After creating your video, download it to share on your chosen channels.

Voila! Your video has been created 🎉