This guide covers everything you need to know to get started using Seenit Stellar!
Step 1) Create your Project 📚
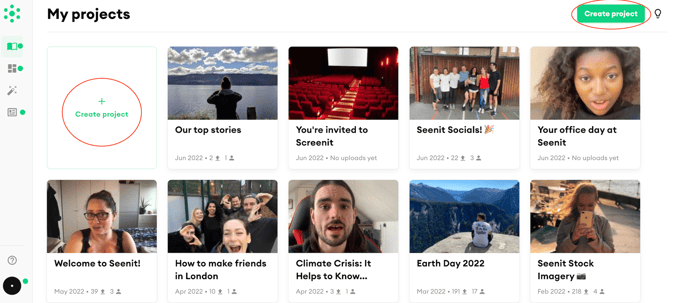
- Once you have logged in, you will see all of the projects that have been created by users in your Studio. There are 2 'Create project' buttons you can click to create a new project.
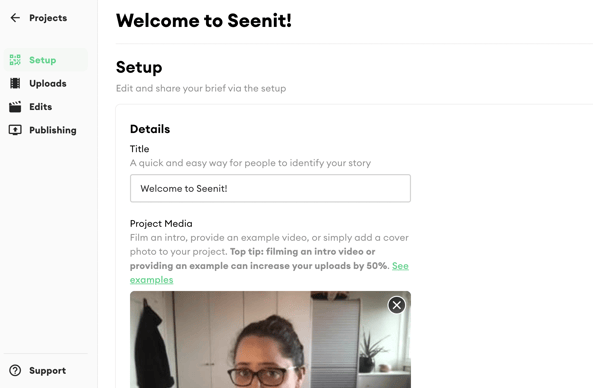
- Setup Page: give your Project a title and upload your Project Media
This is what your contributors will see when they join your project. Project media can be a video or an image - we recommend filming a video!
- Add your project description and set a deadline and your filming preferences
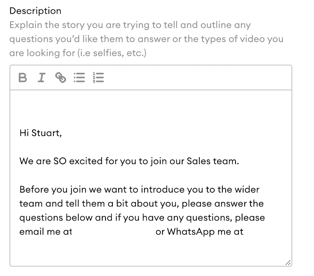
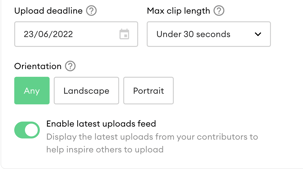
If you would like your contributors to respond to multiple filming requests...
- Create your Scenes

- Hit Create project

Step 2) Share your Uploader Link or QR Code on your preferred communication channel ✉️
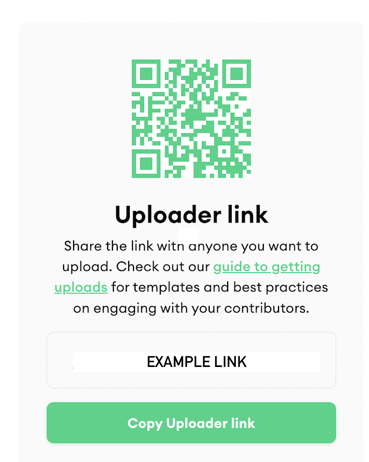
- Using the link, your contributors will then upload their clips to you
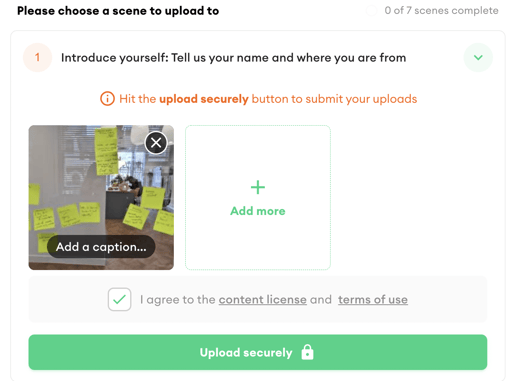
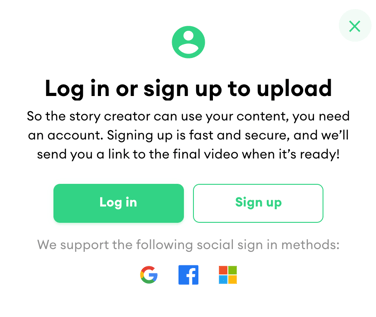
- Make sure your contributors hit 'Upload securely' and Log in/Sign up if they haven't already
Step 3) Watch, download and shortlist the best clips in the Uploads view of the Studio 👍
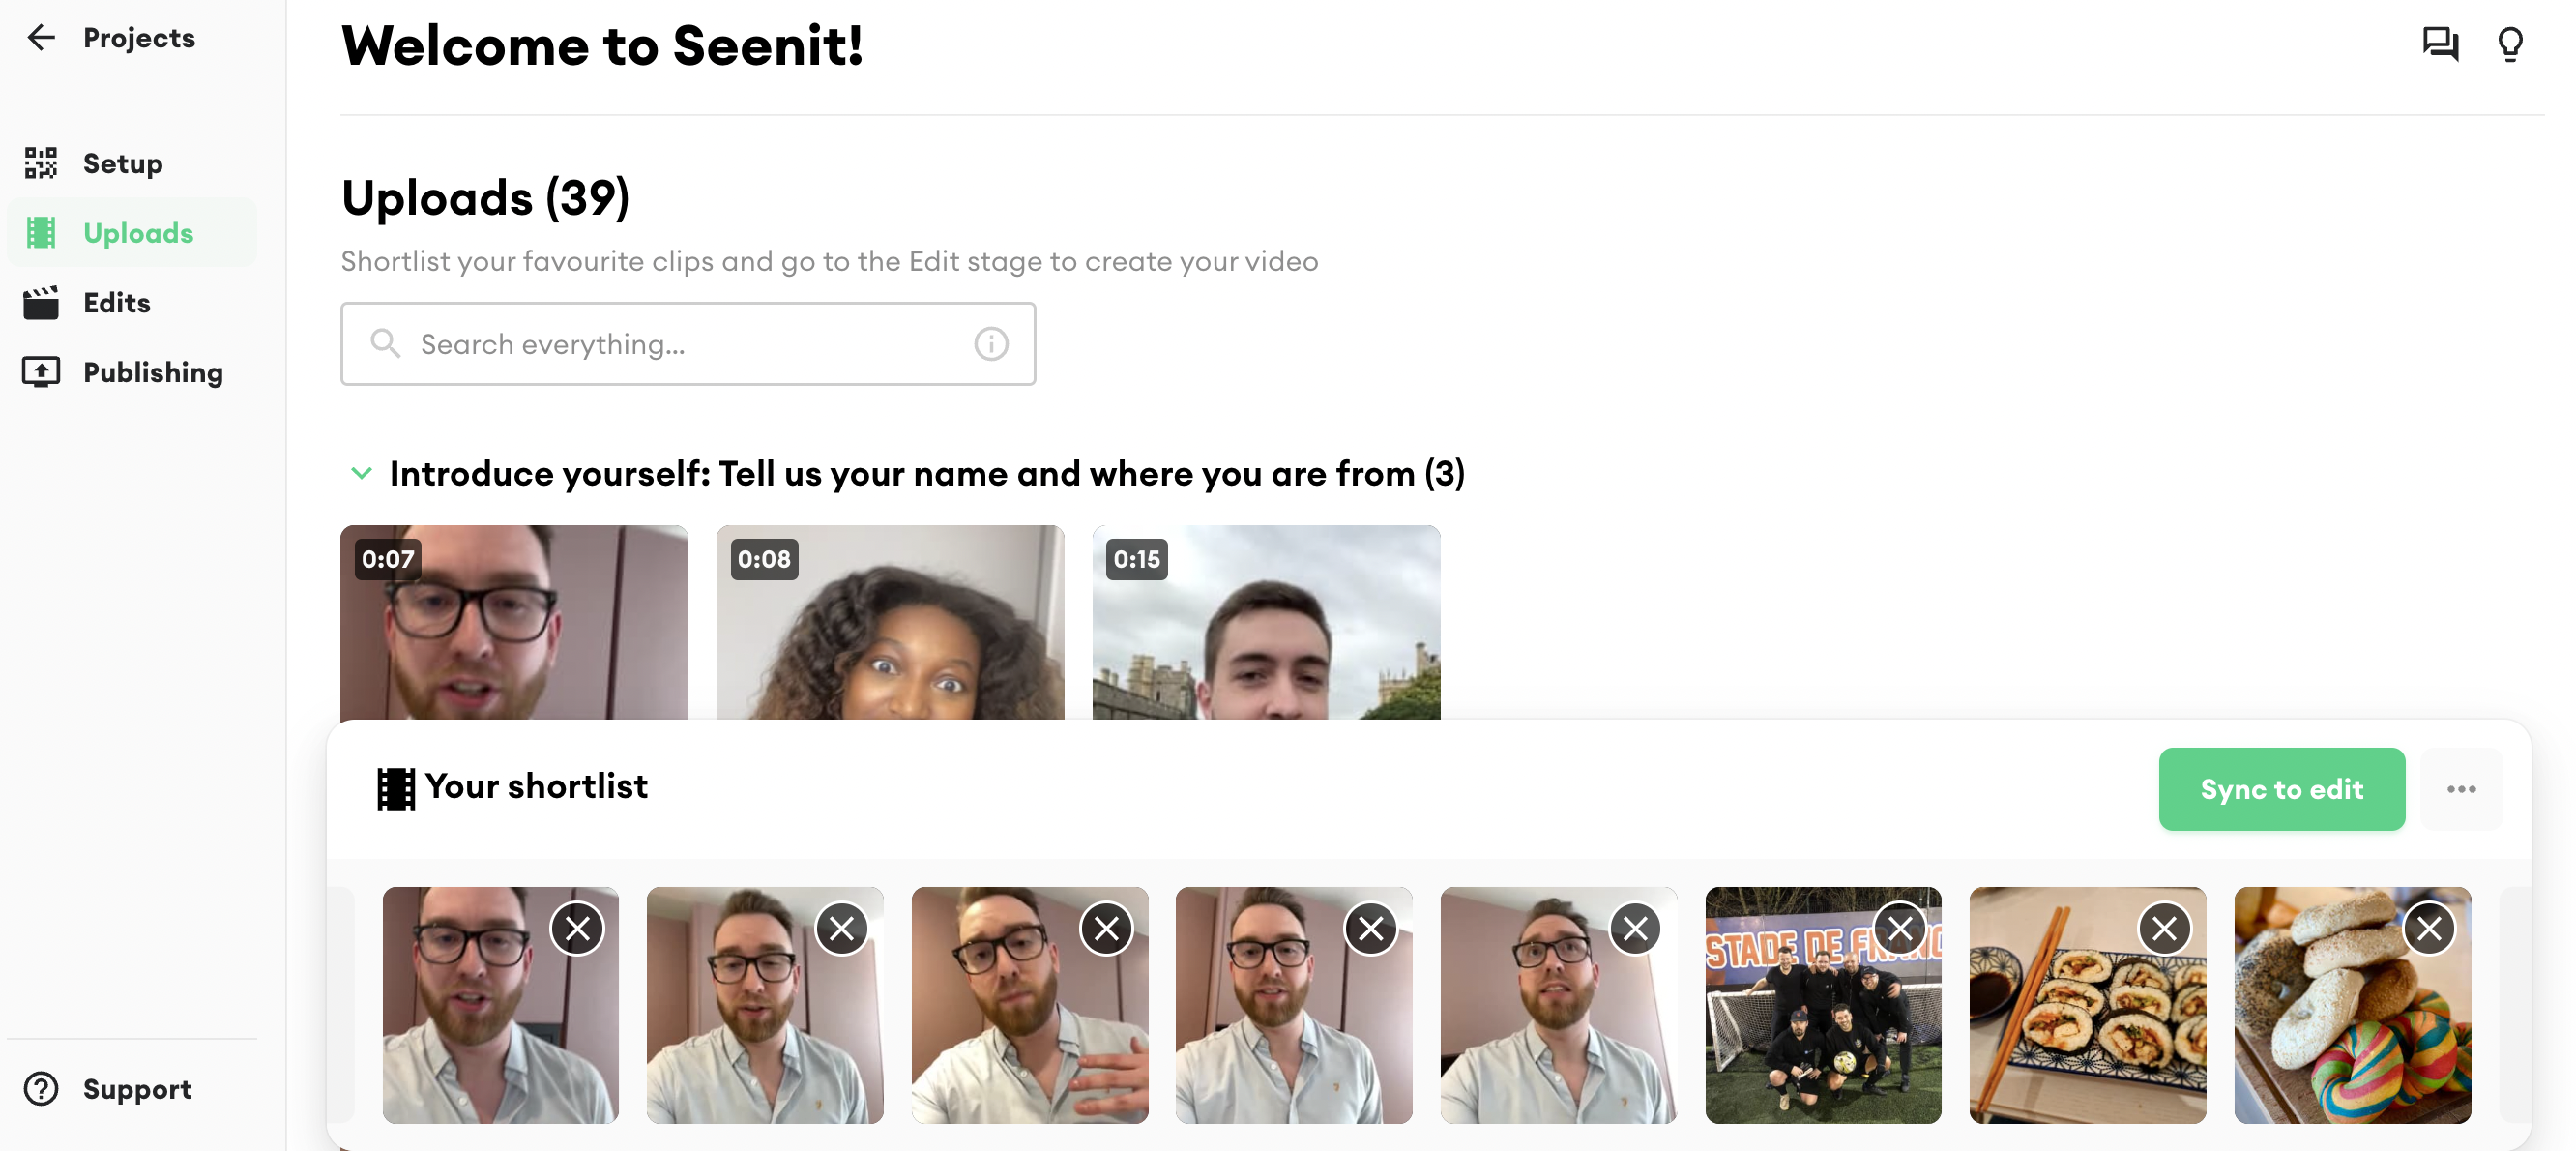
- Hit 'Sync to edit' when you have all of your clips shortlisted
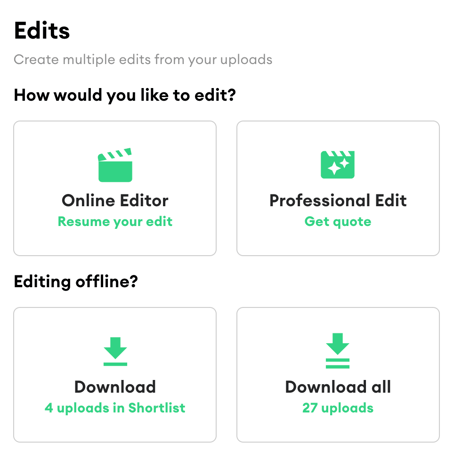
Step 4) Select your preferred option for editing 👩💻👨💻
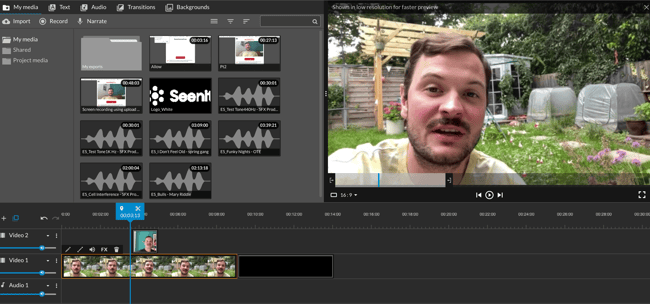
- You can use the in-built Seenit editor, our professional team, or edit offline
- If you're using the built-in Seenit editor, make sure to check out our Editor training.
Step 5) Once you're finished editing, you can download your final video from the "Latest edit" panel 🍿
